There is absolutely no point in trying to explain in exact detail how to lay cobbles in general as you can find this information on the exceptional site offered by the Paving Expert – see the link below. At the end of the page I have given rough dimensions for our specific build, but really you should stick to the Paving Expert.
http://www.pavingexpert.com/setts01.htm
However I thought I would give you a little insight into the trials and tribulations that we have had for a client in Clapham. He has a corner garden on a bit of a slope. The main landscaped garden is almost square (10M x 10M) which is not the easiest shape and is also not very large. Elms Road Outline Plan
The client wanted to have two good entertaining spaces on different levels, some planting and some grassed area but also an area where he could park his lovely car – ie a “carport”. He had to get permission from the Council to enter the garden with his car from the street as he needed to widen the gate, fortify the pavement area and build electric gates with a new wall and piers.
We drew up a design which he loved and then he mentioned that he had seen some cobble stones outside a church in Switzerland and would like to replicate this look in the specific area that his car would be parked (initially to be a dark grey gravel to match the Basalt paving that he is having for the rest of the hard landscaping). There is to be a low wall slightly dividing the carport from the rest of the garden.
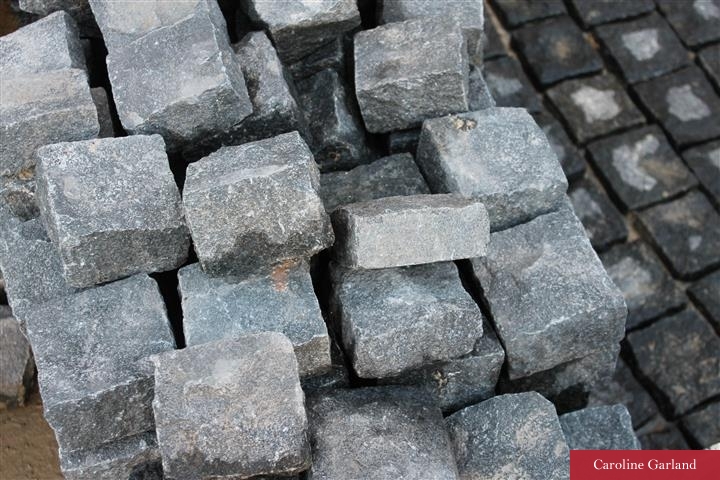
My builder is an absolute EXPERT but I have to say there was a fair amount of scratching his head when he realised that he had to fit granite cobbles into the appointed area! The cobbles arrive as rough squares (100mm x 100mm) but some, for the “edging” are 200mm x 100mm and they ALL come in different depths..
a nightmare as far as laying is concerned as each one has to be set individually according to its depth.
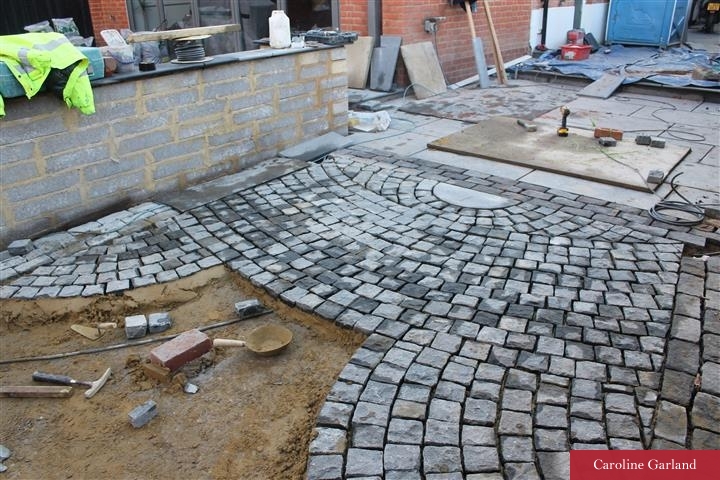
We looked at many different patterns and initially got it wrong by making the pattern too busy – see below!
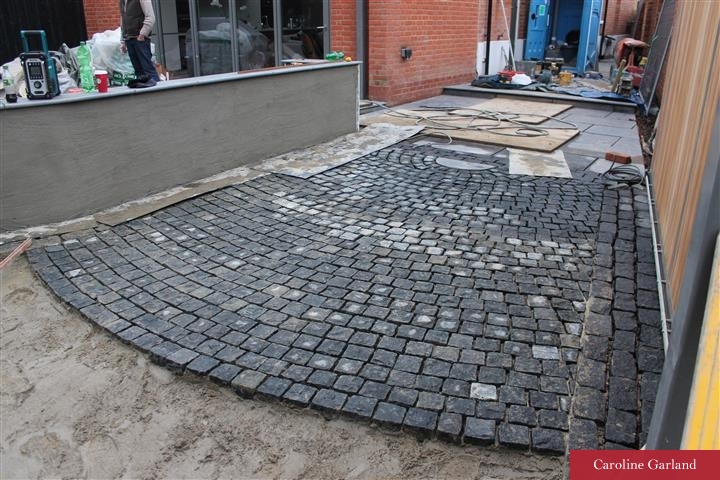
But then with more scratching of heads and a patient client, we changed it to an over all sweep or curve.
To lay these cobbles they must have a good base as they are to be driven over so just for the record this is what we did:
We put down a solid concrete base to 100mm. We then laid the cobbles on to a sand and cement mortar base of varying depths according to the individual varyting thickness of each cobble. We laid them roughly 8mm apart and then brushed in sand and cement mortar. The effect is fabulous and I can’t wait to show you the whole finished effect.


