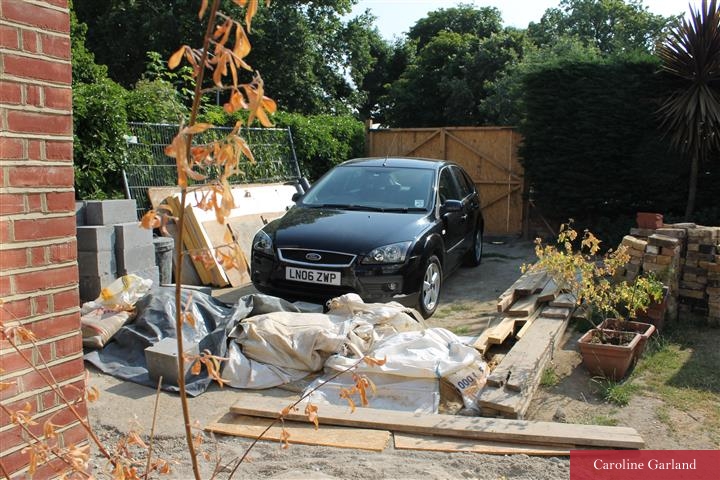
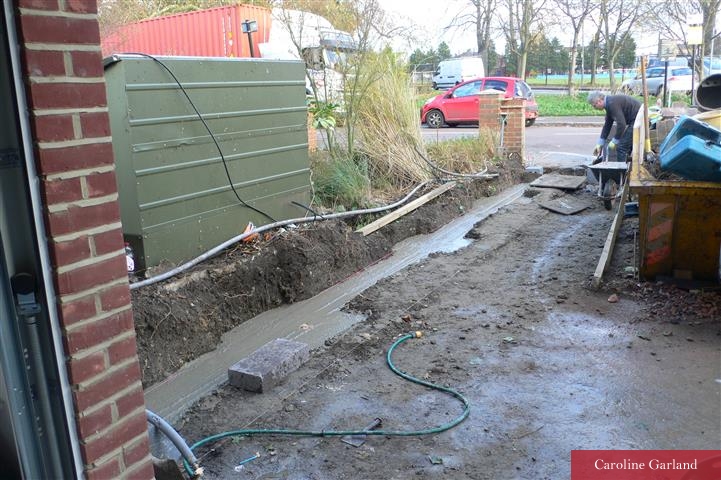
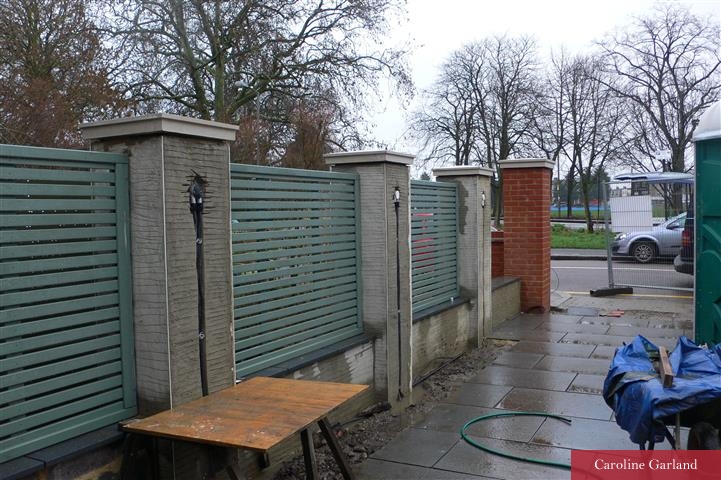
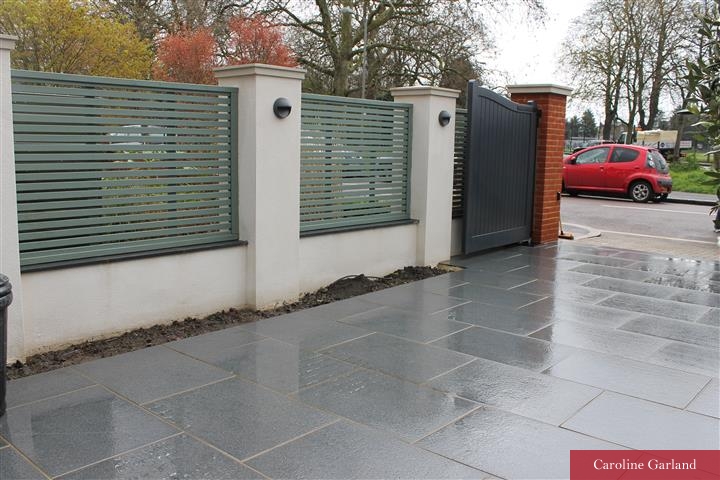
We’ve had a terrible time! Guess why? Well the weather of course. Del, our builder, has had to be pulled off his work all of last week because he couldn’t render or point but let me tell you where he has got to in the week before. He finished the back barbeque area and has now started on the front drive. What a mess it was! Take a look…
We started by cutting back the existing heavy ivy growth which seemed to constitute a hedge and discovered that some of the ivy limbs are 3 to 4 inches thing and are interwoven into rotting trellis work.
Having cut out the ivy, its root systems and trellis, we find an old concrete dwarf wall supporting the rellis plus quite a substantial old concrete base, all of which has to be drilled out and disposed of. Unseen problems already!
This is what Del had to do to build the side wall the the front drive at our Burntwood Lane, Wandsworth garden:Dig bigger trench to accept new concrete base approx 400mm wide by 500mm deep.
Pour new concrete base. This requires approximately 3 x tonne bags ballast and 15 bags cement, plus cement mixer plus labour. Not cheap!!!
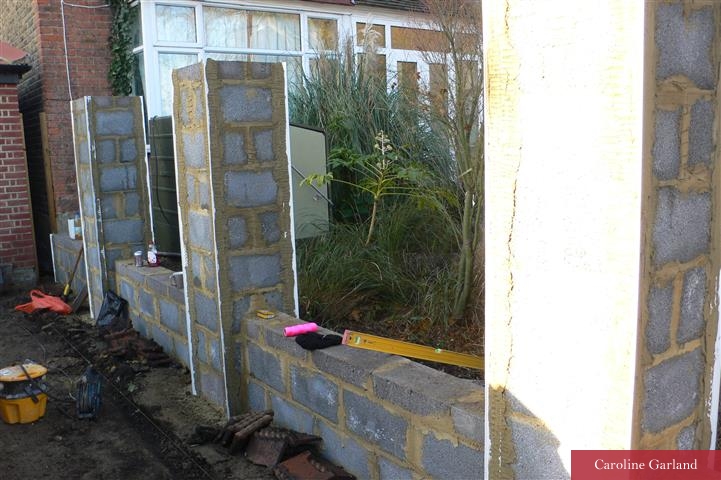
We plan to build a dwarf wall by 450mm high from concrete hollows 225 x 225 x 450mm, single hollow wide and therefore 225mm wide.
Every 1.83 meters construct a pillar, again from hollows, approx 350mm square by final height 2 meters.
On top of the walling and therefore between the piers, lay 350mm wide granite coping stones, cut from the 800 x 600mm granite slabs laid for the drive.
Before this, fill the hollows with some reinforcing rod and more concrete. Can’t get much stronger than this!”
The hollows walling and piers are to receive K rend white scratch coat and finishing coat, thus adding around 30mm thickness all round.
Before rendering the piers, Del has to place angle beading (in this case plastic, not metal, because of the K rend) onto each corner of the piers above the dwarf walling.
He now applies the scratch coating to the dwarf walling, both sides, and to all four sides of the pillars.
The other side of the dwarf walling and piers will be visible to the neighbouring house and therefore has to look good to them as well.
He now places Haddonstone Portland pier caps onto each pillar and then applies the top K rend to the dwarf walls and piers.
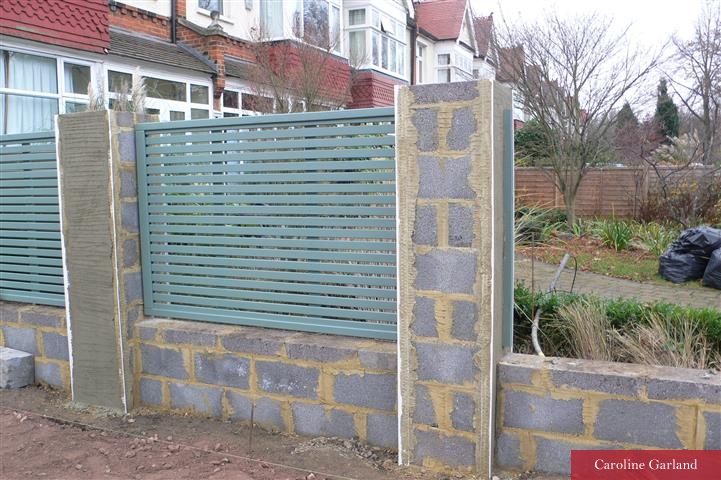
Next Del places Jacksons venetian panels between each pier. These panels are 1.83M wide by 1.2M high.
These panels have had to be treated with Cuprinol ‘Wild Thyme’.
This new side walling / trellis has to be fitted into our new main entrance piers – another story.


